Calendar
Calendar
The built-in LIMBAS calendar can be used as an individual calendar or as a group calendar. Calendar information is located at the right side of your screen in the Media Menu. Click on Calendar in the Media Menu and the calendar opens in the Work Area. Calendar / Events are displayed in the Work Area and in the Quick View.
Note: The text in the Media menu (in this example, 'Calendar') is assigned by the ADMIN and is therefore variable. You can have multiple calendars in the Media Menu. (Personal Calendar, Group Calendar or a calendar for room reservation)
Calendar Menu
The settings for the calendar can be found under [Admin -> Tables -> Scheduling -> Calendar settings].
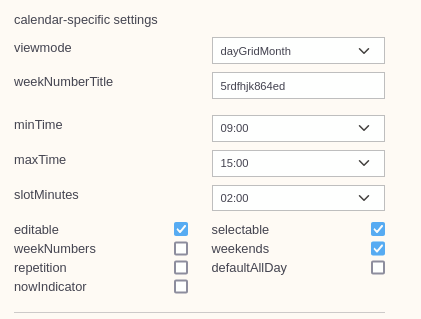
Fig. 1: calender-specific settings
| Beschreibung | |
|---|---|
| viewmode | Display mode dayGridMonth: normal calendar display of a month timeGridWeek: Timetable view of a week timeGridDay: Timetable view of a day listMonth: List of all appointments in a month listWeek: List of all appointments in a week listDay: List of all appointments on one day |
| weekNumberTitle | Title that is displayed when “weekNumbers” is selected. |
| minTime | [00:00-23:00] every hour Specifies the time at which the calendar display starts. |
| maxTime | [00:00-24:00] every hour Specifies the time at which the calendar display ends. |
| slotMinutes | [00:05-04:00] every 5 minutes Specifies the interval at which the time is displayed in the calendar. |
| editable | If selected, a new appointment can be created by double-clicking on the day. |
| weekNumbers | Specifies whether “weekNumberTitle” should be displayed in the calendar. |
| repetition | Under “Details” you can select how often the appointment should be repeated. |
| selectable | If selected, a new appointment can be created by double-clicking on the day. |
| weekends | If selected, Saturday and Sunday are displayed in the calendar. |
| defaultAllDay | If selected, the appointment is automatically set to all-day. However, it can still be changed. |
Example
In the example, the start time is 9 a.m., the end time is 3 p.m. and the time slots are 2 hours. In addition, “weekends” is not selected and therefore Saturday and Sunday are not displayed in the calendar.
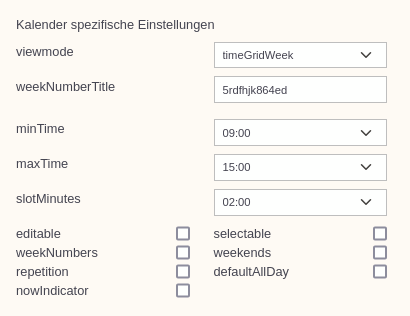
Fig. 2: Example
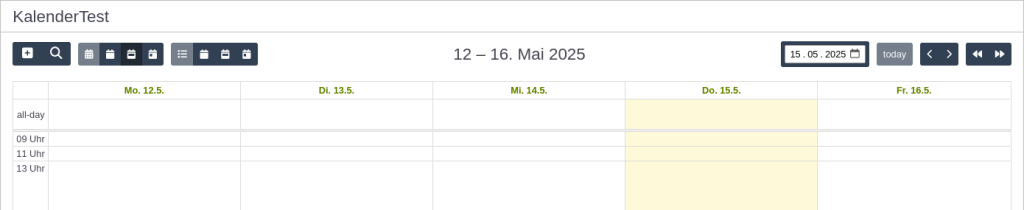
Fig. 3: Example
view selection
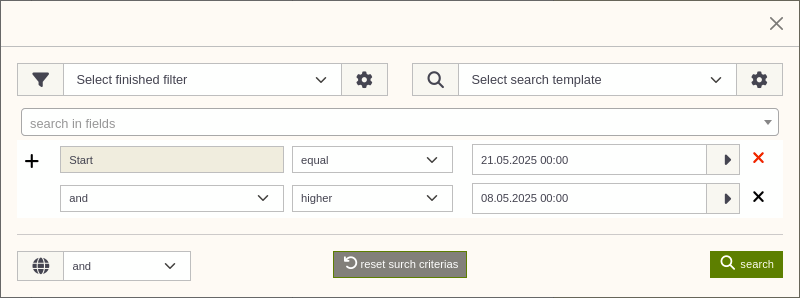
Fig. 4: Search in calender
The menu item view selection brings you to a calendar search window. Here you can search for the subject, the user or the creation date. In addition you can go to a precise date by double click on a date in the view selection.
Calendar Toolbar

Fig. 5: Calender Toolbar
From left to right you see following symbols:
- Create appointment
- Show searchbar
- Classic: Monthly-/weekly-/daily-view
- Agenda: Monthly-/weekly-/daily-view
Appointment
Create Appointment
An appointment can be created via the “+” symbol or by clicking on the corresponding day.
A pop-up window appears with all relevant input fields. The following example shows the LIMBAS Standard form. This may differ from the calendar form in your application.
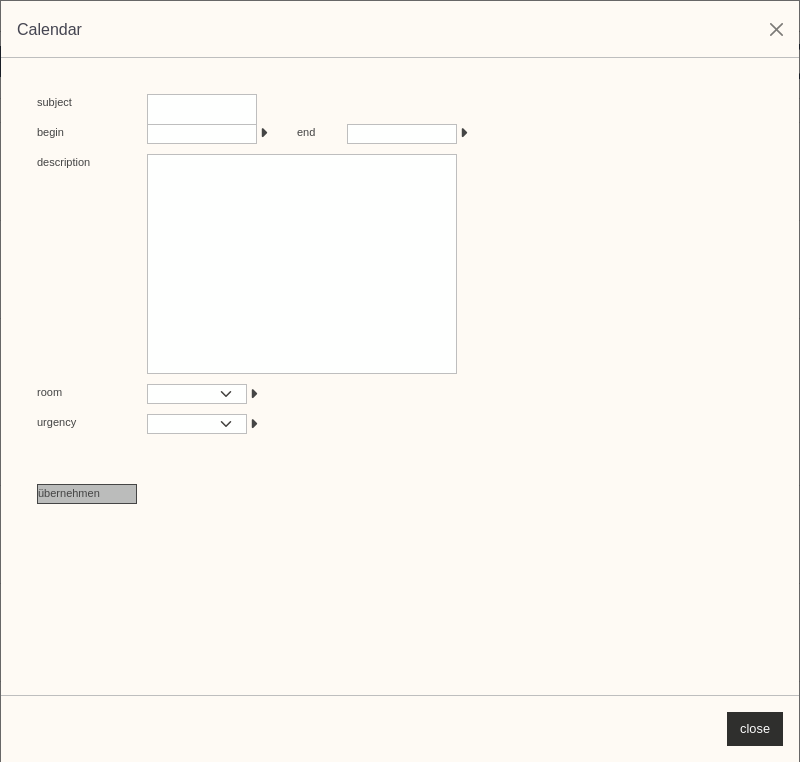
- Subject, this information will be displayed in your calendar (all views)
- Start time and End time can be entered direct or selected using the Quick calendar
- Text box for additional information
- A room can be selected
- The urgency of the appointment can be selected
- All day event will be shown in the ALL DAY line
Edit Appointment
If you double-click on an appointment, the input window opens as already described. All data can be supplemented, edited and deleted.
An existing appointment can be re-scheduled easily. Select the appointment, click left mouse button, hold it and move the appointment to the desired date/time.
To change the duration of an appointment, click on the bottom border of the appointment, hold mouse button and move the cursor up or down.
Delete Appointment
To delete an appointment, double-click on the appointment to the input window (Fig.3) and press the 'Delete' button. The appointment will be deleted without further request.
Maintain Calendar via
A LIMBAS Calendar is also stored as a table. Like all the other data. Therefore you can edit appointments also in the Record List or Record View of a table.